Creating your own widget

|
One of Schematic's unique features is the ability to let users add their own drawing objects to the object repository. This is achieved by designing and creating a widget. A widget consists of one or more existing drawing objects (including widgets) arranged in a hierarchy (parent-child relationship) with their properties set to specific values. This means that to create a widget you must think about how you can use the functionality of existing objects to create the effect you want. For example if you want to include text in your widget you might want to use a text object. However, if you want the text in your widget to attach itself to an object, then maybe a caption would be better as it includes this functionality. For this tutorial we will create a widget to represent a PABX telephone in a network diagram. The objects we will use are as follows:
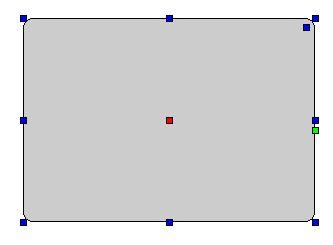
Creating a widgetFirst add a rectangle to a new diagram (contained in You should have the following:
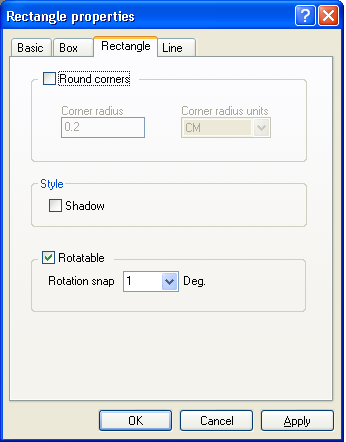
Edit the rectangle properties by clicking the properties button (
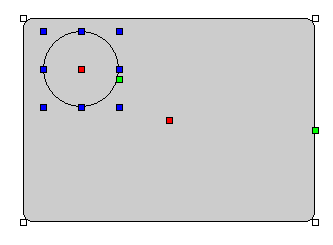
Now put the rectangle into component editing mode, this will allow child objects to be added to the widget and also allow them to be individually selectable. To do this right-click the rectangle and use the "Edit/Unedit components" command. When an object is in this mode this command will be checked. Now add an ellipse as a child of the rectangle. To do this you must first make sure the rectangle is selected and then drag an ellipse from the object repository (contained in
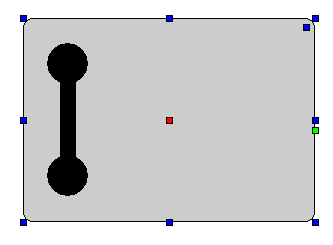
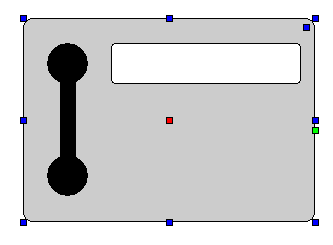
Now change the fill colour of the ellipse to black (Fill colour on the Line tab of the property editor). You'll notice that the position and size units (on the Basic and Box tabs of the property editor) are set to Normalised, so the ellipse will size itself to its parent rectangle. You can now add the second ellipse and a rectangle to complete the receiver. You should have the following:
Now add a rectangle with rounded corners to act as the display:
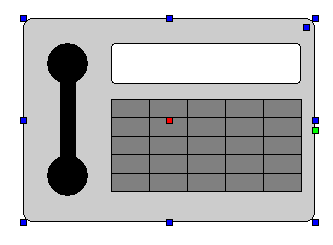
Now add another rectangle, which will be used for the number pad (contained in
Having done this we can snap four horizontal and four vertical lines to make a five-by-five grid. Note that you can press CTRL-D on a selected line to duplicate it. You should have the following:
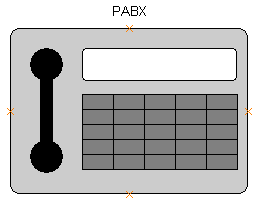
Now add a caption to the parent rectangle and change its text to PABX (use right-click menu option Now add four sockets (use right-click menu option You should have the following:
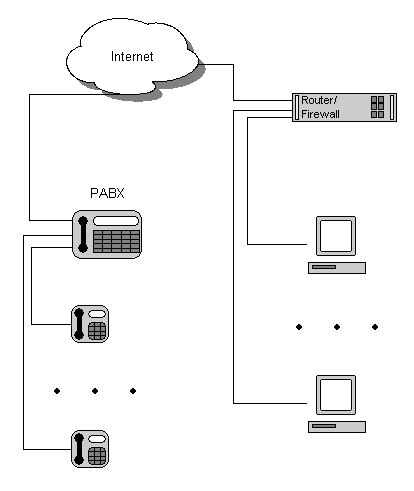
Now we need finish the edit components mode for the rectangle using the "Edit/UnEdit components" command and then we can save it using the right-click pop-up menu option Save as widget. We will save the widget in the Network section of the widget repository (normally this will be Finally, here is the completed widget in a new diagram:
|
 ) from the toolbar and check Round corners on the Rectangle tab, and uncheck Rotatable:
 ), which indicate that the ellipse is a child of the rectangle:
Bookmark with: |
|
Copyright © Dot Software Ltd 2009, all trade marks acknowledged |